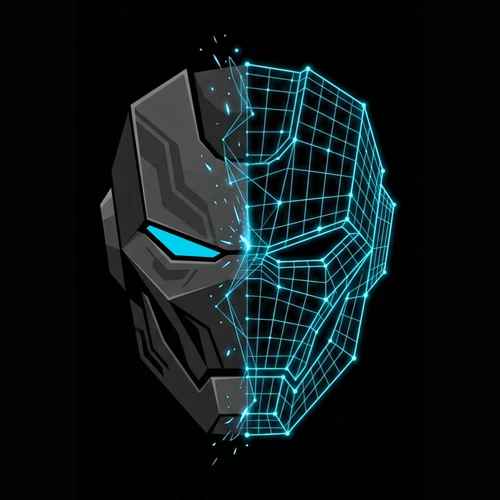
Blender
Augtrix_Predator.glb
// Step-by-Step
01
File → Import → glTF 2.0 (.glb/.gltf)
02
Select
Augtrix_Predator.glb → click Import. All PBR materials and 8 texture maps load automatically — no manual linking needed.03
In the Outliner you'll see
Mask_Body, Eye_Left, Eye_Right. Toggle eye visibility with the eye icon.04
Open Shader Editor → select Mask_Body → verify Emission node is connected. Set Emission Strength to
2.0–5.0 for fire glow.05
Eye materials → Emission Color
(1.0, 0.25, 0.0) → Strength 3–10 for glowing red predator eyes.06
Add an HDRI environment (World Properties → Environment Texture) for realistic reflections.
07
Render with Cycles for photorealism or EEVEE Next for real-time. Both fully supported.
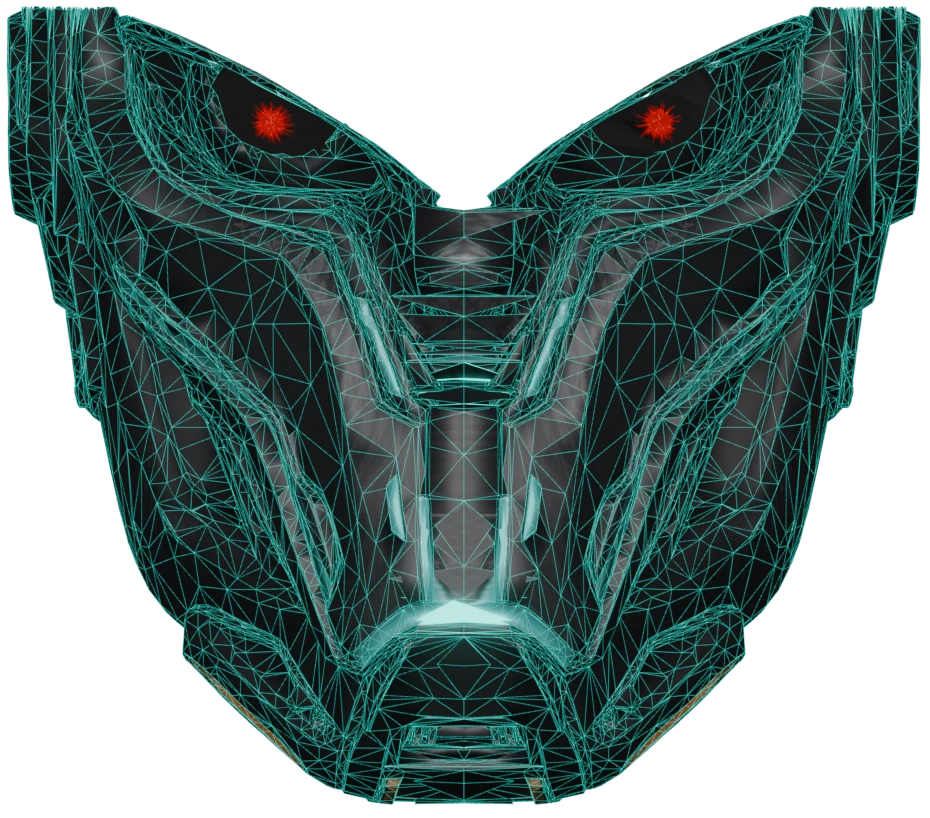
BLENDER · GLB · PBR
GLB only in Blender — all textures embedded, zero setup.
The wireframe render shown across this site was produced directly from Blender using this file.
Unity
Augtrix_Predator.fbx
// Step-by-Step
01
Drag
Augtrix_Predator.fbx into your Assets folder in the Project window.02
Drag the model from Assets into your Scene.
03
If too shiny: select material → Smoothness = 0.5 in Inspector.
04
For URP/HDRP: create a Lit Material → connect
BaseColor_FINAL → Base Map, Metallic → Metallic, Roughness → Smoothness (invert), Normal → Normal Map.05
Eye glow: select Eye material → enable Emission → color
(255, 64, 0) → Intensity 3.0.06
Model is in metres. Default scale is 1:1 — adjust to your scene.
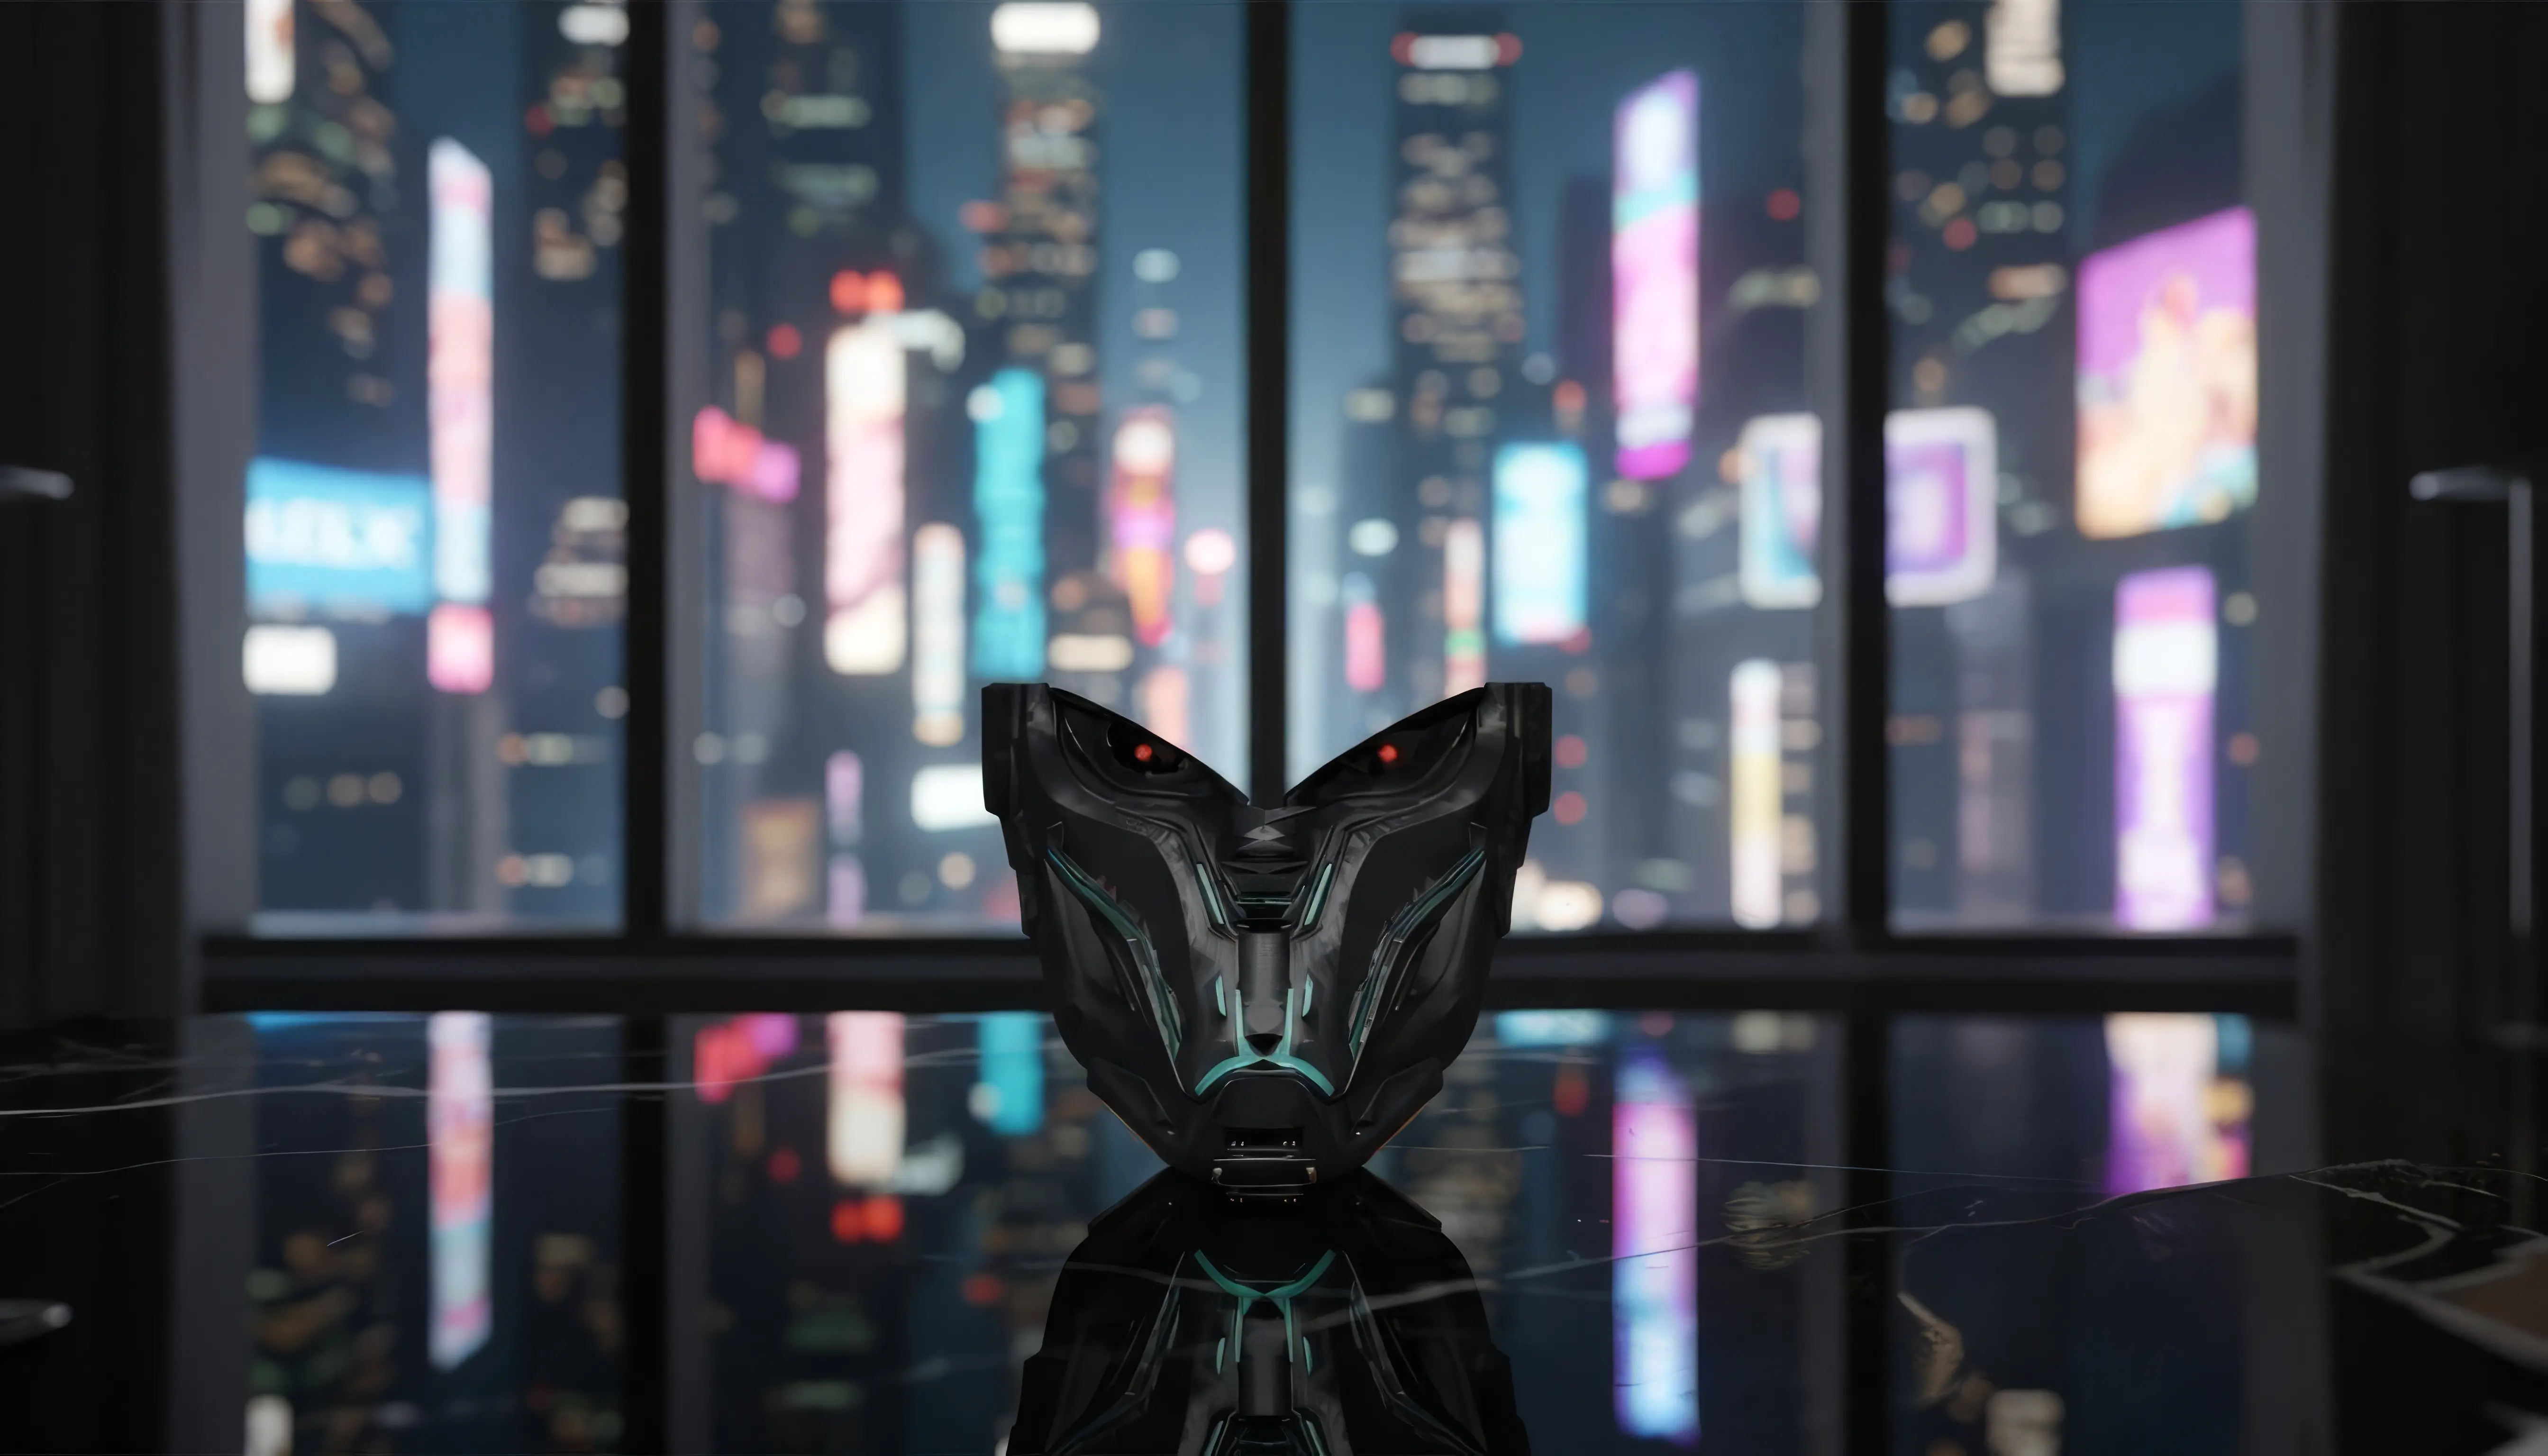
UNITY · FBX · URP/HDRP
URP and HDRP give the best PBR result. Built-in pipeline also works.
Roughness note: Unity inverts roughness for smoothness — use the Roughness map but invert the channel.
Unreal Engine 5
Augtrix_Predator.fbx
// Step-by-Step
01
Content Browser → Import → select
Augtrix_Predator.fbx → Import All.02
FBX Import Options: enable Import Materials and Import Textures.
03
Open Material Editor → connect:
BaseColor_FINAL → Base Color | Metallic → Metallic | Roughness → Roughness | Normal → Normal.04
Emission: connect
Emission.png → Emissive Color → multiply scalar by 5.0.05
Enable Lumen (UE5 default) — eye emission will cast real-time light on surrounding surfaces automatically.
06
In Post Process Volume: set Emissive Boost 2.0–5.0 for cinematic eye glow bloom.
07
Place Static Mesh in your level. Model is in metres.
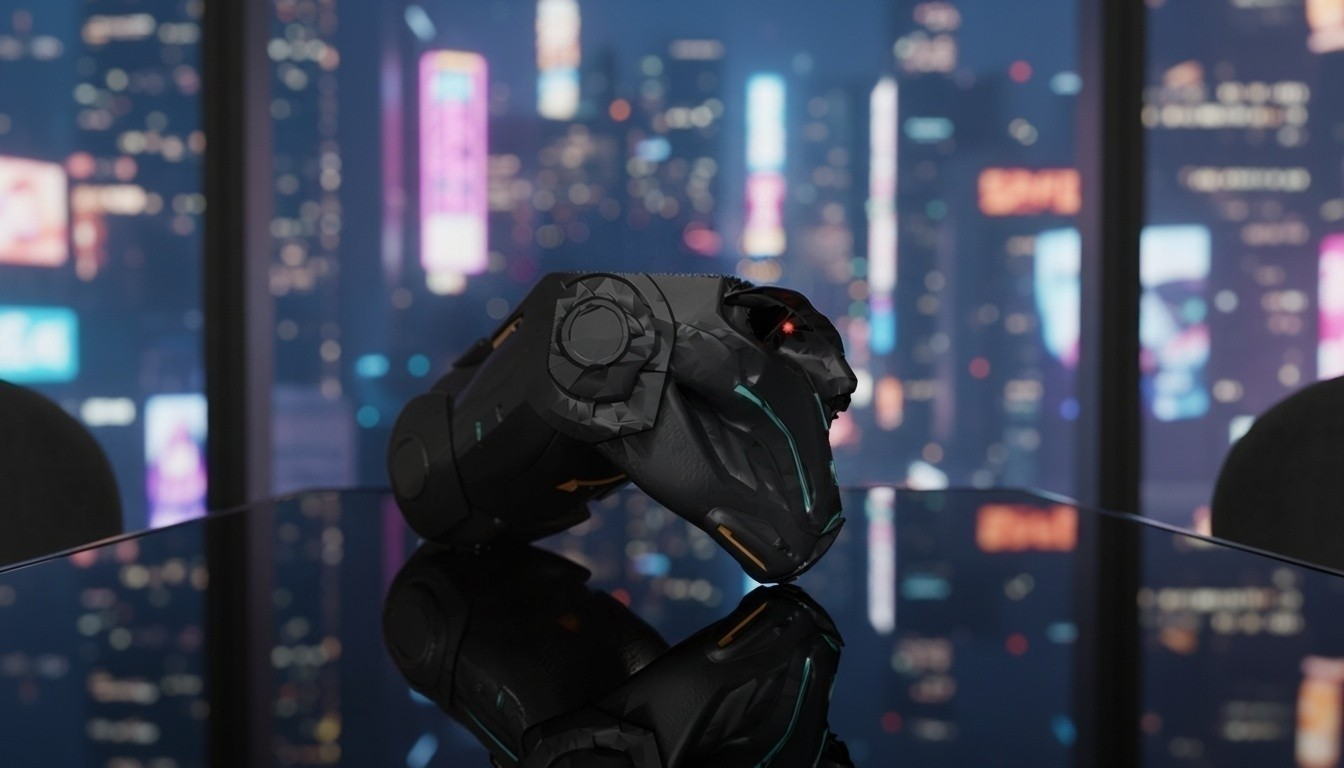
UE5 · FBX · LUMEN
Lumen tip: with Lumen GI active, the red eye emission casts dynamic light — no baking needed.
Nanite is not needed for this asset — it's already optimised for real-time use.
VTube Studio
Augtrix_Predator.glb
// Step-by-Step
01
Open VTube Studio → Items / Props panel → Import 3D Item.
02
Select
Augtrix_Predator.glb — loads with full PBR materials.03
Use transform handles to scale and position over your face tracking anchor.
04
Attach to the Head bone — mask follows head movement in real time.
05
If eye glow is missing: enable emissive materials in VTube Studio graphics settings.
06
Output via OBS Virtual Camera. Use a black background for maximum visual impact.
VTUBE STUDIO · GLB · LIVE
Streamer tip: pair with a dark scene in OBS and add a subtle cyan colour grade — makes the teal accents pop on stream.
Animaze
Augtrix_Predator.glb
// Step-by-Step
01
Open Animaze → Avatar Library → Import Custom Avatar.
02
Select
Augtrix_Predator.glb — Animaze reads GLB natively with full PBR.03
In the face rig editor, map tracking anchors to your face landmarks.
04
Adjust scale and position to align the mask with your face tracking zone.
05
Enable Emission in material settings → intensity
3.0+ for glowing eyes.06
Use as full head replacement or face overlay — output via Animaze Virtual Cam into OBS or Streamlabs.
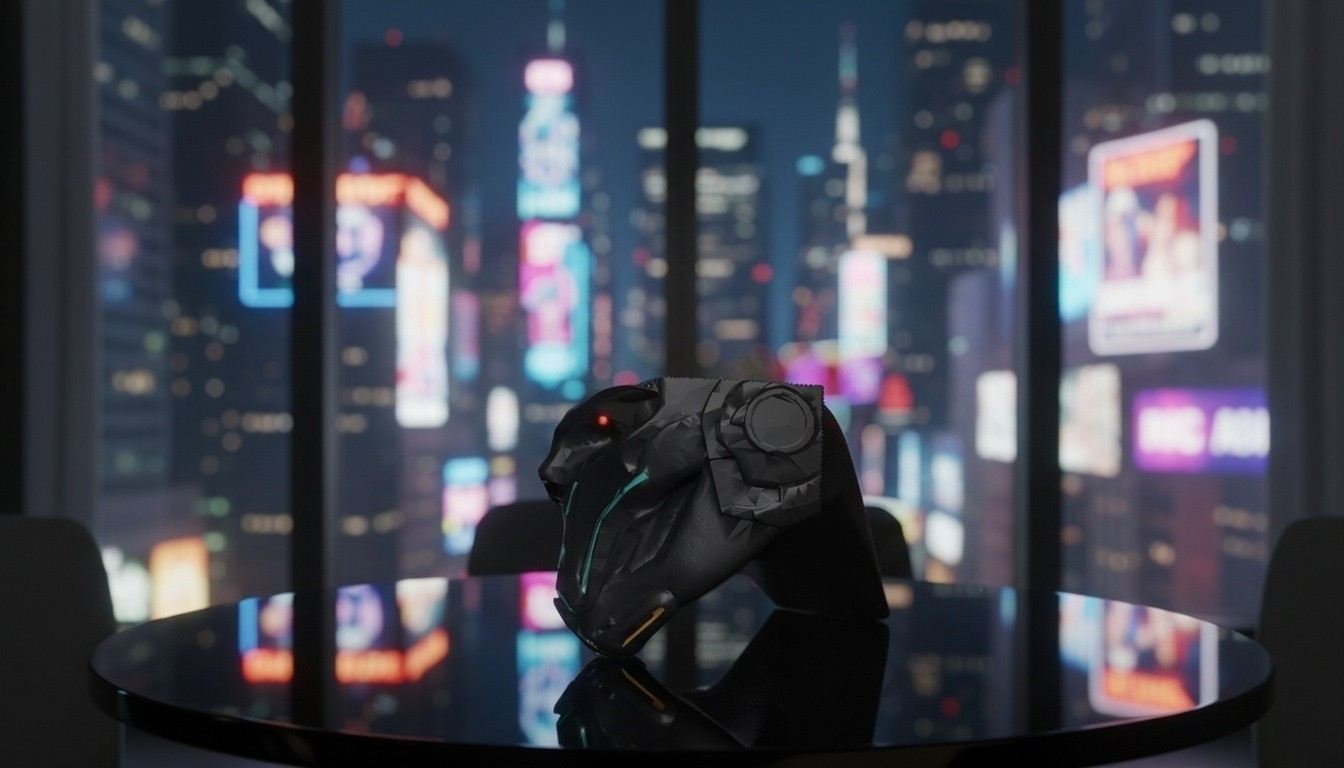
ANIMAZE · GLB · FACEWARE
Best tracking: use iPhone with Face ID for sub-millimetre accuracy with the Cybermask in Animaze.
Snapchat Lens Studio
Augtrix_Predator.obj + Textures
// Step-by-Step
01
Lens Studio → New Project → Face Mask template.
02
Resources → Add → Import Files → select
Augtrix_Predator.obj. MTL loads automatically.03
Create a PBR Material: Inspector → Material → PBR.
04
Diffuse →
BaseColor_FINAL.png | Metallic → Metallic.png | Roughness → Roughness.png | Normal → Normal.png.05
Emissive →
Emission.png → Emissive Intensity 5.0.06
Attach mesh to [Head] binding → preview → publish to Snapchat.
LENS STUDIO · OBJ · AR
Already built: a live try-on Lens is available free on the product page — built from these exact assets.
Keep Textures folder in the same directory as OBJ — Lens Studio needs co-located files.
Cinema 4D
Augtrix_Predator.fbx or .obj
// Step-by-Step
01
File → Merge → select FBX or OBJ.
02
Material Manager → open auto-created material.
03
Color channel →
BaseColor_FINAL.png.04
Reflectance → GGX layer →
Roughness.png → Roughness | Metallic.png → Metallic.05
Normal channel →
Normal.png.06
Luminance channel →
Emission.png → Brightness 500%.07
For Redshift: use RS Standard Material — connects to all PBR inputs directly.
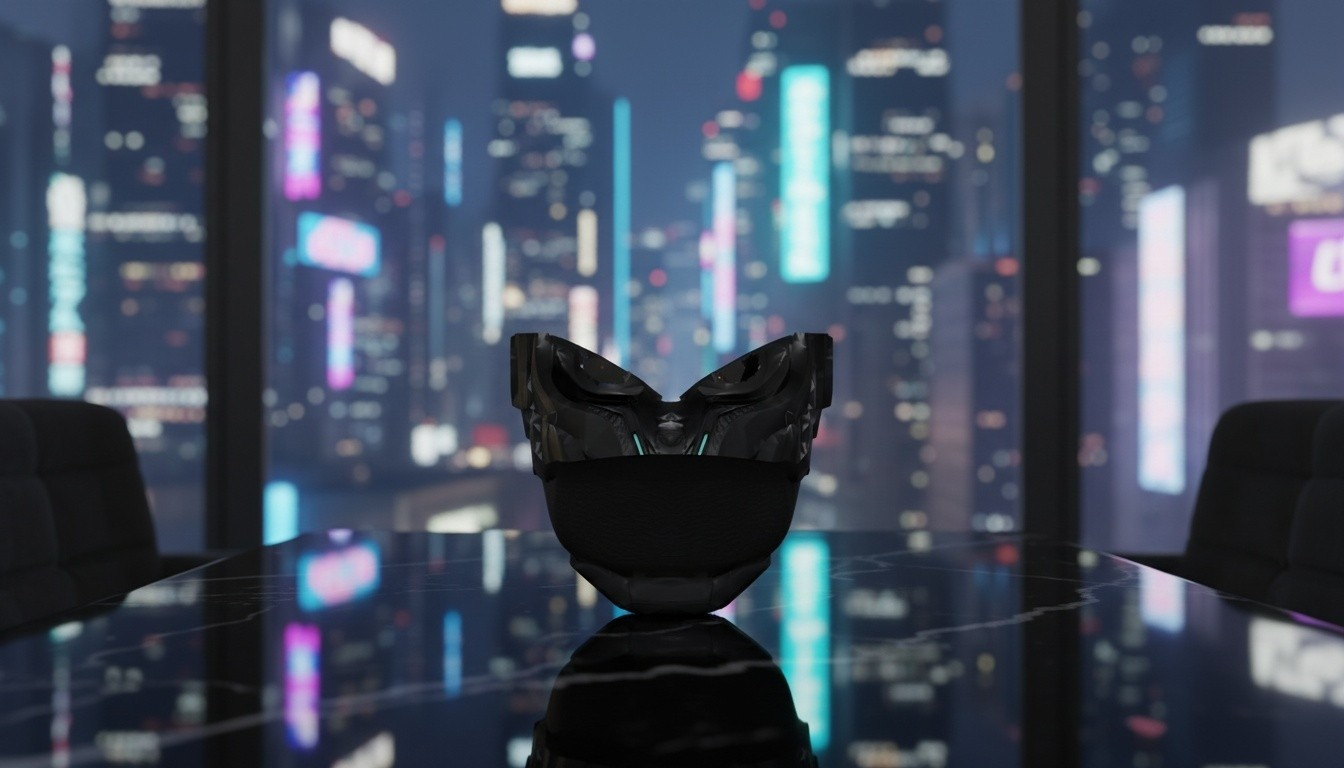
CINEMA 4D · FBX · REDSHIFT
Redshift produces closest match to the original product renders.
Autodesk Maya
Augtrix_Predator.fbx
// Step-by-Step
01
File → Import → select FBX → All Files.
02
Open Hypershade → create
aiStandardSurface (Arnold).03
BaseColor_FINAL.png → Base Color.04
Metallic.png → Metallic | Roughness.png → Specular Roughness.05
Normal.png → Normal Camera via aiNormalMap node.06
Emission.png → Emission Color → Weight 1.0.07
Eye material: Emission Color
(1.0, 0.25, 0.0) → Weight 1.0 → Exposure 3.0.
MAYA · FBX · ARNOLD
Arnold tip: set camera EV 10–12 so glowing eyes bloom without overexposing the mask body.